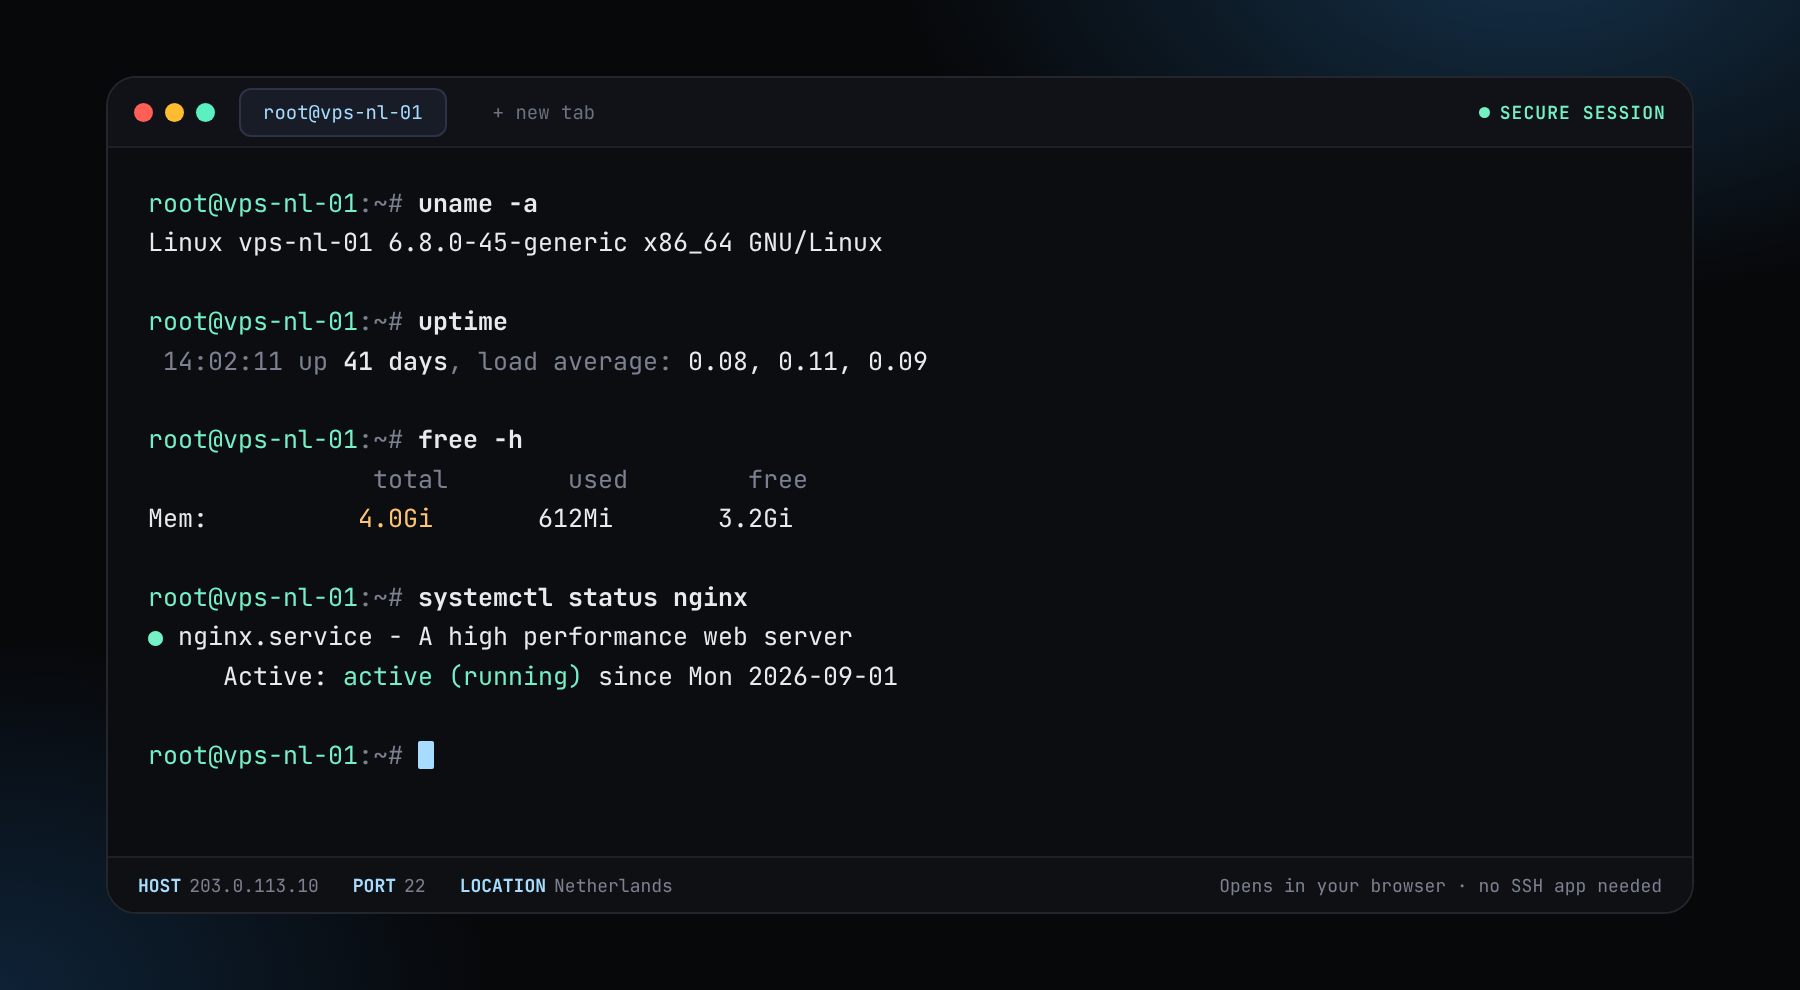
새로운 업데이트가 있습니다. 이제 자체 웹 콘솔을 제공합니다. 콘솔을 열고 ssh root@your-server-ip를 입력하면 브라우저에서 바로 보유한 모든 서버에 접속할 수 있습니다. SSH 앱이 필요 없습니다.
가격은 루마니아 기준, 1개월 약정입니다. 12개월 약정은 50% 할인됩니다.
or $5.38/mo on a 12-month term (−50%)
전체 체인을 보관하고 모든 블록을 검증합니다. 체인이 계속 커지므로 200 GB는 Dogecoin 문서가 제시한 최소 60 GB보다 넉넉한 여유를 줍니다.
Configure and orderor $8.38/mo on a 12-month term (−50%)
txindex나 주소 인덱서용으로, 디스크가 더 필요하고 구축하는 동안 RAM도 더 필요합니다.
Configure and orderDogecoin 문서는 최소 60 GB 디스크(가능하면 빠른 드라이브), 2 GB RAM, 멀티코어 CPU를 명시하며, 첫 동기화에 24시간 이상, 때로는 며칠이 걸릴 수 있다고 경고합니다. 또한 인기 있는 노드는 월 최대 1 TB의 데이터를 주고받을 수 있다고 하므로, 플랜의 트래픽 한도가 이를 충족하는지 확인하세요.
해당 페이지는 체인의 현재 크기를 알려주지 않고 체인은 매일 커지므로, 저희는 넉넉한 여유를 두고 디스크를 정합니다. 일반 노드에는 200 GB, 인덱스를 추가하면 400 GB입니다. 동기화 후 직접 운영하는 노드에서 du -sh ~/.dogecoin으로 측정하고, 85% 찼을 때 알림을 설정하세요.
아래에서 200 GB 사양을 고르고, 암호화폐로 결제한 뒤 로그인 정보를 기다리세요.
Ubuntu를 업데이트하고, 사용자를 만들고, 공식 릴리스 페이지에서 Dogecoin Core를 내려받아 해시를 확인하세요.
RPC 비밀번호가 있는 dogecoin.conf를 작성하고 RPC를 localhost에 유지하세요.
systemd 유닛이 재부팅 후 노드를 다시 시작합니다. 체인 끝에 도달할 때까지 debug.log를 지켜보세요.
명령어는 Ubuntu 22.04 또는 24.04와 root 로그인을 가정합니다. VER를 공식 릴리스 페이지의 최신 릴리스 번호로 바꾸고, 무엇이든 실행하기 전에 내려받은 파일의 해시를 그곳에 게시된 해시와 비교하세요.
# log in from your computer
ssh root@YOUR_SERVER_IP

# update the system and create a user that will run the node
apt update && apt -y upgrade
adduser --disabled-password --gecos "" doge

# firewall: SSH first, then only the ports below
ufw allow OpenSSH
ufw enable
ufw allow 22556/tcp # Dogecoin peer portVER=1.14.9 # use the latest release number
cd /tmp
wget https://github.com/dogecoin/dogecoin/releases/download/v$VER/dogecoin-$VER-x86_64-linux-gnu.tar.gz
sha256sum dogecoin-$VER-x86_64-linux-gnu.tar.gz # compare with the release page
tar -xzf dogecoin-$VER-x86_64-linux-gnu.tar.gz -C /opt
mv /opt/dogecoin-$VER /opt/dogecoin
ln -s /opt/dogecoin/bin/dogecoin-cli /usr/local/bin/dogecoin-clidoge 사용자로 파일을 만드세요. 기본 데이터 디렉터리는 ~/.dogecoin입니다. RPC를 localhost에 유지하세요. RPC 포트에 접근할 수 있는 사람은 누구나 노드를 사용할 수 있습니다.
su - doge
mkdir -p ~/.dogecoin
PASS=$(openssl rand -hex 24)
cat > ~/.dogecoin/dogecoin.conf <<EOF
server=1
rpcuser=node
rpcpassword=$PASS
rpcport=22555
rpcbind=127.0.0.1
rpcallowip=127.0.0.1
maxconnections=50
EOF
chmod 600 ~/.dogecoin/dogecoin.conf
exit# add to dogecoin.conf, then restart. It adds disk and slows the first sync.
txindex=1systemd 유닛이 부팅 시 노드를 시작하고 멈추면 다시 시작합니다. 첫 동기화는 전체 체인을 내려받으므로 시간을 주세요.
[Unit]
Description=Dogecoin Core
After=network-online.target
Wants=network-online.target

[Service]
User=doge
ExecStart=/opt/dogecoin/bin/dogecoind -conf=/home/doge/.dogecoin/dogecoin.conf -datadir=/home/doge/.dogecoin -printtoconsole
Restart=on-failure
TimeoutStopSec=300

[Install]
WantedBy=multi-user.targetsystemctl daemon-reload
systemctl enable --now dogecoind
journalctl -u dogecoind -f # Ctrl+C to stop watching
# ask the node how far it has got
su - doge -c "dogecoin-cli getblockchaininfo" # check blocks vs headers and verificationprogresssu - doge -c "dogecoin-cli getconnectioncount" # how many peers
du -sh /home/doge/.dogecoin # disk used
df -h / # disk leftDogecoin 문서는 최소 60 GB 디스크를 요구하지만 체인의 현재 크기는 공개하지 않으며, 체인은 매일 커집니다. 일반 노드는 200 GB, 인덱스를 쓰면 400 GB를 권장합니다. 동기화가 끝나면 du -sh ~/.dogecoin으로 측정하세요.
Dogecoin 문서에 따르면 첫 동기화에 24시간 이상, 때로는 며칠이 걸릴 수 있습니다. NVMe 스토리지와 충분한 RAM이 속도를 높여 줍니다. dogecoin-cli getblockchaininfo로 진행 상황을 확인하세요.
피어용으로 22556 포트를 사용합니다. 인바운드 피어를 원할 때만 여세요. RPC 포트(위 설정에서는 22555)는 반드시 localhost에 남겨야 합니다. 일부 페이지는 RPC에 25555를 안내하므로, 의심의 여지가 없도록 rpcport를 직접 지정하세요.
Bitcoin, Monero, Ethereum, Litecoin, Solana, TRON, BNB, USDC, USDT를 받습니다. Dogecoin은 아직 목록에 없으니 이 중 하나로 결제하세요. 요금을 참고하세요.
아니요. 생성된 로그인으로 계정을 만들고, 암호화폐로 충전한 뒤 배포하면 됩니다. KYC 없는 VPS 호스팅을 참고하세요. 실행하는 내용에 대한 책임은 이용 약관에 따라 사용자에게 있습니다.
Checked 20 October 2026. Chain sizes and software requirements change, so confirm against the source before you order.