














Discord 机器人连接到 Discord 的网关并保持连接,因此需要一台始终开机的机器。小型 VPS 价格便宜、持续在线,也不依赖你家里的网络。本指南使用 discord.js 部署 Node.js 机器人,并用 systemd 保持其运行。
选多大的 VPS?
1 vCPU 和 1 至 2 GB 内存足以应付大多数机器人。缓存许多服务器或处理音频的大型机器人需要更多。套餐请参阅 Discord 机器人托管。
步骤 1:在 Discord 中创建机器人
- 打开 Discord Developer Portal 并创建一个新应用。
- 添加 Bot,复制其令牌并妥善保密。
- 在 OAuth2 下,生成包含
bot和applications.commands作用域的邀请链接,并将机器人添加到你的服务器。
步骤 2:安装 Node.js
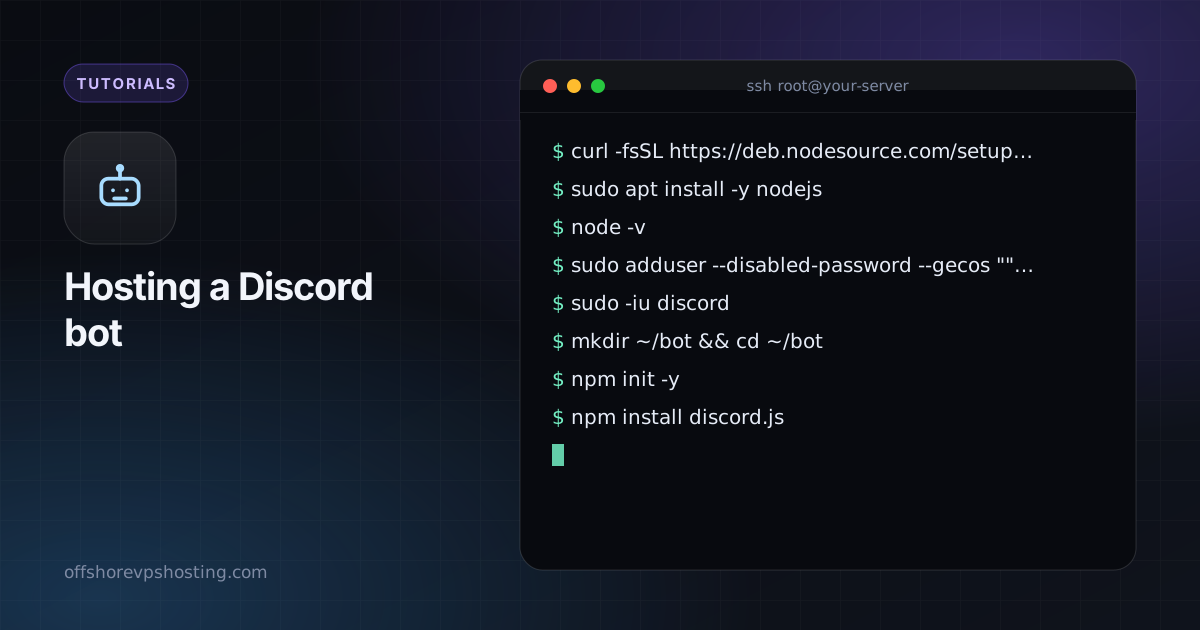
curl -fsSL https://deb.nodesource.com/setup_22.x | sudo -E bash -
sudo apt install -y nodejs
node -v
sudo adduser --disabled-password --gecos "" discord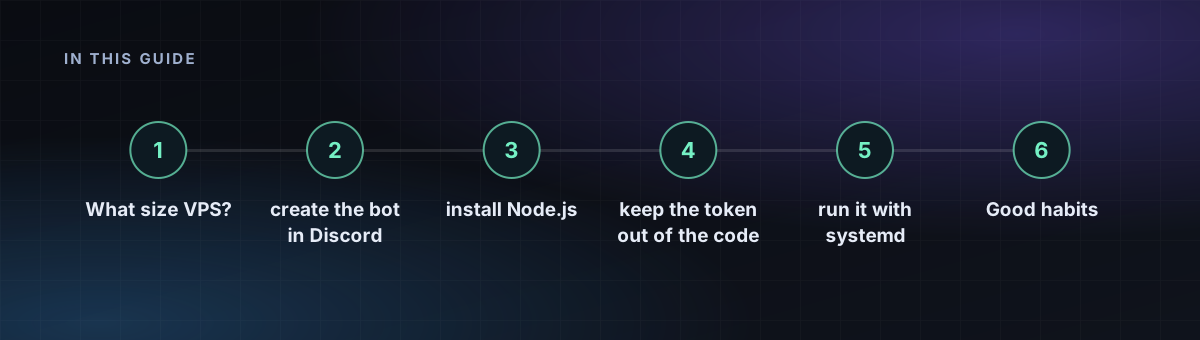
步骤 3:编写机器人
sudo -iu discord
mkdir ~/bot && cd ~/bot
npm init -y
npm install discord.js
// index.js
const { Client, GatewayIntentBits } = require('discord.js');
const client = new Client({ intents: [GatewayIntentBits.Guilds] });
client.once('ready', () => console.log('Logged in as ' + client.user.tag));
client.on('interactionCreate', async (i) => {
if (i.isChatInputCommand() && i.commandName === 'ping') await i.reply('Pong!');
});
client.login(process.env.DISCORD_TOKEN);按照 discord.js 指南中的方法,注册一次 /ping 斜杠命令。
步骤 4:不要把令牌写进代码
echo "DISCORD_TOKEN=your-token-here" > ~/bot/.env
chmod 600 ~/bot/.env
步骤 5:用 systemd 运行
[Unit]
Description=Discord bot
After=network-online.target

[Service]
User=discord
WorkingDirectory=/home/discord/bot
EnvironmentFile=/home/discord/bot/.env
ExecStart=/usr/bin/node index.js
Restart=always
RestartSec=5

[Install]
WantedBy=multi-user.target
sudo systemctl daemon-reload
sudo systemctl enable --now discordbot
journalctl -u discordbot -f将文件命名为 /etc/systemd/system/discordbot.service。
良好习惯
- 只使用你需要的 intent。特权 intent 必须在门户中开启。
- 如果令牌曾经泄露,请立即在门户中重置。
- 上面已设置失败时重启。如果机器人对社区很重要,请添加监控。