














Discord 봇은 Discord의 게이트웨이에 연결해 계속 연결을 유지하므로 항상 켜져 있는 기기가 필요합니다. 작은 VPS는 저렴하고, 온라인을 유지하며, 집 인터넷에 의존하지 않습니다. 이 가이드는 discord.js로 Node.js 봇을 배포하고 systemd로 계속 실행되게 합니다.
어느 정도 사양의 VPS가 필요할까요?
대부분의 봇에는 1 vCPU와 1~2 GB RAM이면 충분합니다. 많은 서버를 캐시하거나 오디오를 처리하는 더 큰 봇은 더 많이 필요합니다. 플랜은 Discord 봇 호스팅을 참고하세요.
1단계: Discord에서 봇 만들기
- Discord Developer Portal을 열고 새 애플리케이션을 만드세요.
- Bot을 추가하고 토큰을 복사한 뒤 비밀로 유지하세요.
- OAuth2에서
bot및applications.commands스코프로 초대 링크를 생성하고 봇을 서버에 추가하세요.
2단계: Node.js 설치
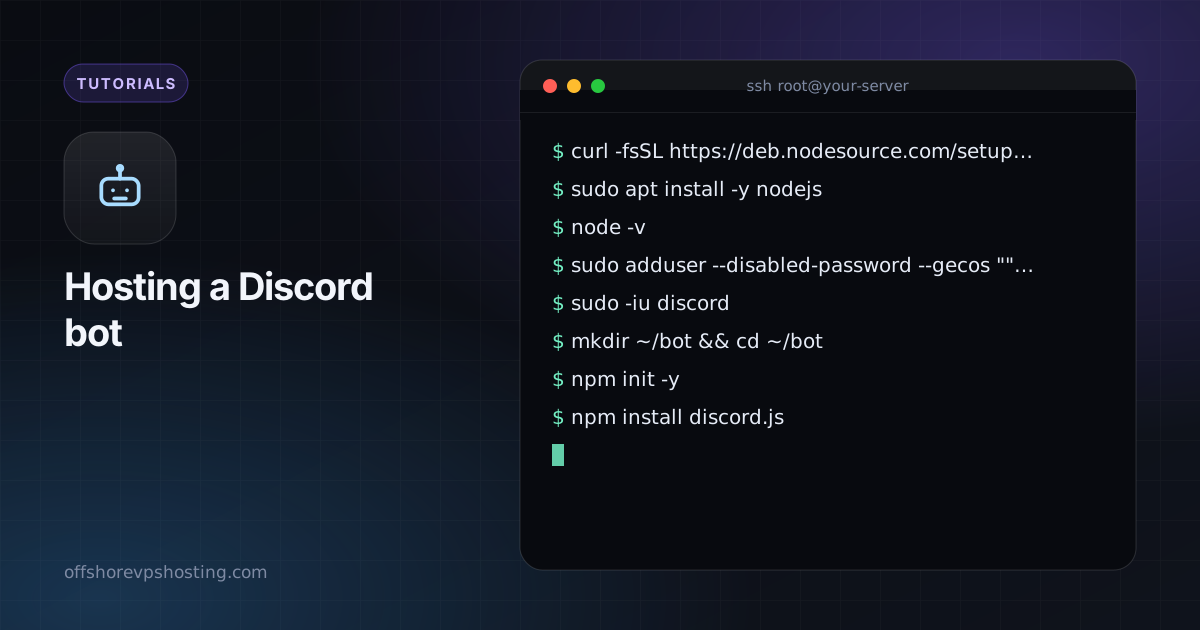
curl -fsSL https://deb.nodesource.com/setup_22.x | sudo -E bash -
sudo apt install -y nodejs
node -v
sudo adduser --disabled-password --gecos "" discord
3단계: 봇 작성
sudo -iu discord
mkdir ~/bot && cd ~/bot
npm init -y
npm install discord.js
// index.js
const { Client, GatewayIntentBits } = require('discord.js');
const client = new Client({ intents: [GatewayIntentBits.Guilds] });
client.once('ready', () => console.log('Logged in as ' + client.user.tag));
client.on('interactionCreate', async (i) => {
if (i.isChatInputCommand() && i.commandName === 'ping') await i.reply('Pong!');
});
client.login(process.env.DISCORD_TOKEN);discord.js 가이드의 방법으로 /ping 슬래시 명령어를 한 번 등록하세요.
4단계: 토큰을 코드 밖에 두기
echo "DISCORD_TOKEN=your-token-here" > ~/bot/.env
chmod 600 ~/bot/.env
5단계: systemd로 실행
[Unit]
Description=Discord bot
After=network-online.target

[Service]
User=discord
WorkingDirectory=/home/discord/bot
EnvironmentFile=/home/discord/bot/.env
ExecStart=/usr/bin/node index.js
Restart=always
RestartSec=5

[Install]
WantedBy=multi-user.target
sudo systemctl daemon-reload
sudo systemctl enable --now discordbot
journalctl -u discordbot -f파일 이름을 /etc/systemd/system/discordbot.service로 지정하세요.
좋은 습관
- 필요한 인텐트만 사용하세요. 특권 인텐트는 포털에서 켜야 합니다.
- 토큰이 유출되면 즉시 포털에서 재설정하세요.
- 실패 시 재시작은 위에서 설정되어 있습니다. 봇이 커뮤니티에 중요하다면 모니터링을 추가하세요.