














A seedbox is a server that downloads and shares files around the clock, so your home connection stays free and your home address stays out of peer lists. Use it for content you are legally entitled to share, such as Linux ISOs, open datasets and your own releases. This guide builds one with qBittorrent on Ubuntu.
What to rent
- Bandwidth: choose a plan with a generous or unmetered transfer allowance and at least a 1 Gbit port. Seeding is mostly upload.
- Disk: size it for what you will keep. NVMe helps with many small pieces.
- RAM and CPU: 2 GB and 2 cores is enough for most use.
- Location: pick one near your peers and near you for fast retrieval.
Check the provider's terms for torrent traffic before you buy.
Step 1: create a service user
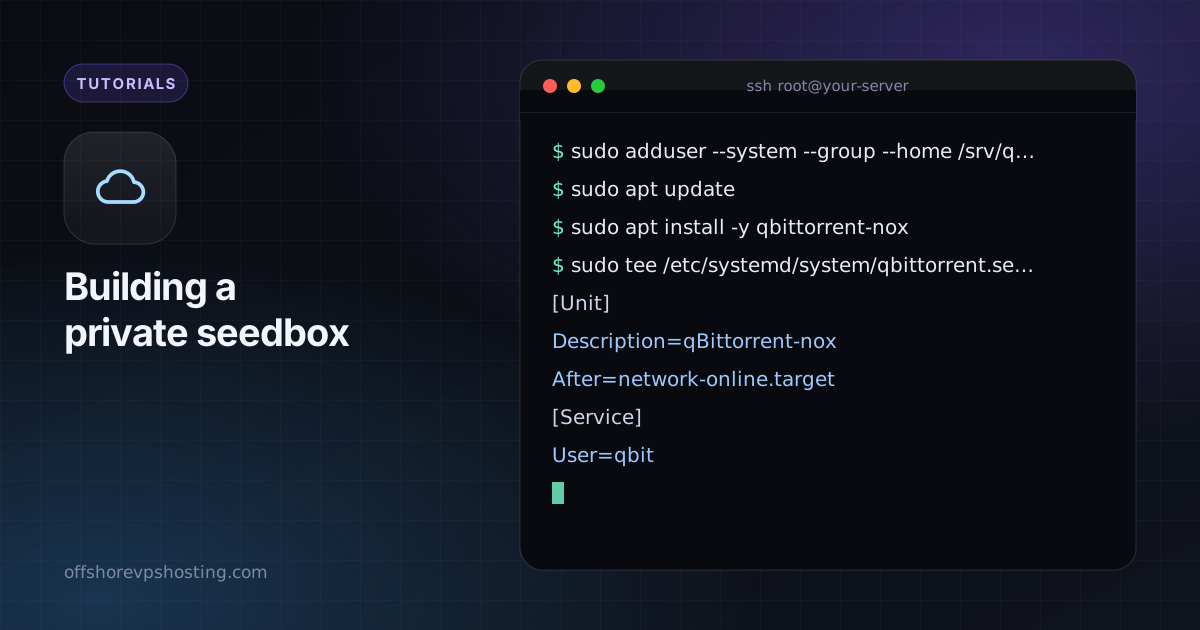
sudo adduser --system --group --home /srv/qbit qbit
sudo apt update
sudo apt install -y qbittorrent-nox
Step 2: run it as a service
sudo tee /etc/systemd/system/qbittorrent.service > /dev/null <<'UNIT'
[Unit]
Description=qBittorrent-nox
After=network-online.target

[Service]
User=qbit
Group=qbit
ExecStart=/usr/bin/qbittorrent-nox --webui-port=8080
Restart=on-failure

[Install]
WantedBy=multi-user.target
UNIT
sudo systemctl daemon-reload
sudo systemctl enable --now qbittorrent
The first start shows a temporary web interface password in the service log: journalctl -u qbittorrent. Log in on port 8080, then set your own password under Tools, Options, Web UI.
Step 3: keep the web interface private
Never leave port 8080 open to the internet. Bind the interface to localhost and put Nginx with HTTPS in front, or reach it through an SSH tunnel or your WireGuard VPN.
ssh -L 8080:127.0.0.1:8080 user@your-serverThen browse to http://127.0.0.1:8080 on your own machine.
Step 4: open only the peer port
In qBittorrent set a fixed listening port, for example 51413, and allow only that and SSH.
sudo ufw default deny incoming
sudo ufw allow OpenSSH
sudo ufw allow 51413
sudo ufw enable
Step 5: get files back to you
- Use
rsync -avP user@server:/srv/qbit/Downloads/ ./local/for resumable copies. - Or serve the folder over SFTP with a restricted user.
- Set share-ratio and seeding limits so the disk does not fill.
Keep the system patched and follow the fail2ban and UFW guide. A seedbox hides your home IP from peers, but it is not an anonymity tool for the person who owns the account.